


💡 Heads up! You can find the code for every article in this series on GitHub, with a tag per article: github.com/trumbitta/giant-robots/tags
In the previous post of this series you learned how to create a new Nx workspace with a React app in it, then serve it for local development with HMR 🎉.
This is good for experiments, but if you intend to actually ship what you are creating you'll also need to lint it, test it, and finally have a build that's optimized for production.
Nx helps you with all of it.
Note: to proceed with the practical examples in this post, you'll need to follow the previous one in this series first.
Linting
Our giant-robots Nx workspace from the previous post already has configuration files for EditorConfig, Prettier , and ESLint.
It also has a .vscode/extensions.json file in case you are using Visual Studio Code as your code editor. This file makes VSCode recommend you to install the extensions listed in it. The interesting ones for linting are:
[...]
    "esbenp.prettier-vscode",
    "dbaeumer.vscode-eslint"
[...]
The defaults are pretty solid, and follow best practices - especially the ESLint one - but of course you can tweak them to your liking. I personally don't ever touch ESLint, but I like to add some tiny personal touches to EditorConfig and Prettier.
To lint a project, run
nx run frontend:lint # or nx lint frontend, as you learned
And the output should be:
❯ nx run frontend:lint

> nx run frontend:lint

Linting "frontend"...

All files pass linting.


———————————————————————————————————————————————

>  NX   SUCCESS  Running target "lint" succeeded
Now let's break it! 😈
- Add the following right at the start of the component in
apps/frontend/src/app/app.tsx:
[...]
export function App() {
  const useless: any = 'useless';

  return (
[...]
- Run
nx run frontend:lintagain - This time the output should be:
❯ nx run frontend:lint

> nx run frontend:lint

Linting "frontend"...

/Users/you/your-path/giant-robots/apps/frontend/src/app/app.tsx
  136:18  warning  Unexpected any. Specify a different type  @typescript-eslint/no-explicit-any

✖ 1 problem (0 errors, 1 warning)

Lint warnings found in the listed files.


———————————————————————————————————————————————

>  NX   SUCCESS  Running target "lint" succeeded
Pretty nifty!
If you have extensions for ESLint installed, your editor should have already marked that any as an unwanted guest in this house, but it's nice to also have a CLI command to run - maybe in a CI job.
The linter will also catch circular dependencies between libs, and it will do one more thing I can't wait to tell you about five-ish posts from now.
Now fix or delete the code that's triggering the linter, and let's move on.
Testing
Unit testing, to be precise. End-to-end testing with Cypress will come later in this series!
You might have noticed Nx created a sample app.spec.tsx for you. Let's use it to give testing a spin.
Now run... wait for it...
nx run frontend:test # starting to see a pattern in these commands?
And it should fail with the following output (and more):
❯ nx run frontend:test

> nx run frontend:test
 FAIL   frontend  apps/frontend/src/app/app.spec.tsx
  App
    ✓ should render successfully (75 ms)
    ✕ should have a greeting as the title (28 ms)

  ● App › should have a greeting as the title

    TestingLibraryElementError: Unable to find an element with the text: Welcome to frontend!. This could be because the text is broken up by multiple elements. In this case, you can provide a function for your text matcher to make your matcher more flexible.
Because in the previous post we changed the title from "Welcome to frontend!" to "Welcome to the annual Giant Robot Fair!"
Nx is using Jest for unit testing, so you'll need to know how to work with it if you want to get serious with testing. For now, just follow my lead and run:
nx run frontend:test --watch
Jest will run the tests, but instead of immediately exiting it will watch for changes in your code and it will rerun the test suite if it detects any.
- Open
apps/frontend/src/app/app.spec.tsx - Find
expect(getByText('Welcome to frontend!')).toBeTruthy();near the end of the file - Change it to
expect(getByText('Welcome to the annual Giant Robot Fair!')).toBeTruthy();
After you save the file, Jest will re-run the test suite and this time it should all pass!
 PASS   frontend  apps/frontend/src/app/app.spec.tsx
  App
    ✓ should render successfully (71 ms)
    ✓ should have a greeting as the title (18 ms)

Test Suites: 1 passed, 1 total
Tests:       2 passed, 2 total
Snapshots:   0 total
Time:        2.753 s
Ran all test suites related to changed files.

Watch Usage: Press w to show more.
Hit q on your keyboard to close watch mode and let Jest exit.
Of course there's more to it but, are you starting to feel comfortable, to memorize the commands, to see how mnemonic they all are?
nx run frontend:servenx run frontend:lintnx run frontend:test
And this is nothing. Wait till we get to nx run backend:serve etc. in the next post!
Building
So now, in our imaginary work environment, we have serving, linting, and testing. Time to build and ship!
nx run frontend:build:production
And the output should be:
❯ nx run frontend:build:production


> nx run frontend:build:production
Starting type checking service...
Using 6 workers with 2048MB memory limit
Hash: 4b3e0567ff6efd35a6a2
Built at: 07/04/2021 11:43:15 PM
Entrypoint main = runtime.365178a7a0f8f038a0f1.js main.f0d31870146f944bd20e.esm.js
Entrypoint polyfills = runtime.365178a7a0f8f038a0f1.js polyfills.b10dbbb4531c9f3f0c99.esm.js
chunk    {0} runtime.365178a7a0f8f038a0f1.js (runtime) 0 bytes ={1}= ={2}= [entry] [rendered]
chunk    {1} main.f0d31870146f944bd20e.esm.js (main) 207 KiB ={0}= [initial] [rendered]
chunk    {2} polyfills.b10dbbb4531c9f3f0c99.esm.js (polyfills) 249 KiB ={0}= [initial] [rendered]

———————————————————————————————————————————————

>  NX   SUCCESS  Running target "build" succeeded
You'll find your app in dist/apps/frontend, ready to be deployed however and wherever you want.
Let's see if everything works:
- Run
npx http-server dist/apps/frontend - Point your browser to localhost:8080 to see it in action
Target configurations
Ok, it works, but wait a minute. What's this travesty? :production? Where did this come from?
That new :production part of the command is called "a configuration":
- Projects like
frontendhave targets - Targets like
serve,lint,test, andbuildcan have configurations
To see what's going on, open workspace.json, under projects find frontend, and under frontend find targets then build, and finally under build find configurations:
[...]
  "projects": {
    "frontend": {
      [...]
      "targets": {
        "build": {
          [...]
          "configurations": {
            "production": {
              "fileReplacements": [
                {
                  "replace": "apps/frontend/src/environments/environment.ts",
                  "with": "apps/frontend/src/environments/environment.prod.ts"
                }
              ],
              "optimization": true,
              "outputHashing": "all",
              "sourceMap": false,
              "extractCss": true,
              "namedChunks": false,
              "extractLicenses": true,
              "vendorChunk": false,
              "budgets": [
                {
                  "type": "initial",
                  "maximumWarning": "500kb",
                  "maximumError": "1mb"
                }
              ]
            }
          }
        },
[...]
You might recognize some options for Webpack, plus an interesting section we are now going to talk about:
[...]
"fileReplacements": [
  {
    "replace": "apps/frontend/src/environments/environment.ts",
    "with": "apps/frontend/src/environments/environment.prod.ts"
  }
],
[...]
When building with the :production configuration, Nx will replace the default / development environment.ts with the .prod one.
If you keep looking inside workspace.json, you'll notice the serve target points to the build target for its build phase.
What does this mean?
It means that we can have app-wide configuration constants with different values when we are developing locally and when we are building for production! 🤯
Let's give it a try.
- Open
apps/frontend/src/environments/environment.ts - Add a new property to the
environmentobject:
export const environment = {
production: false,
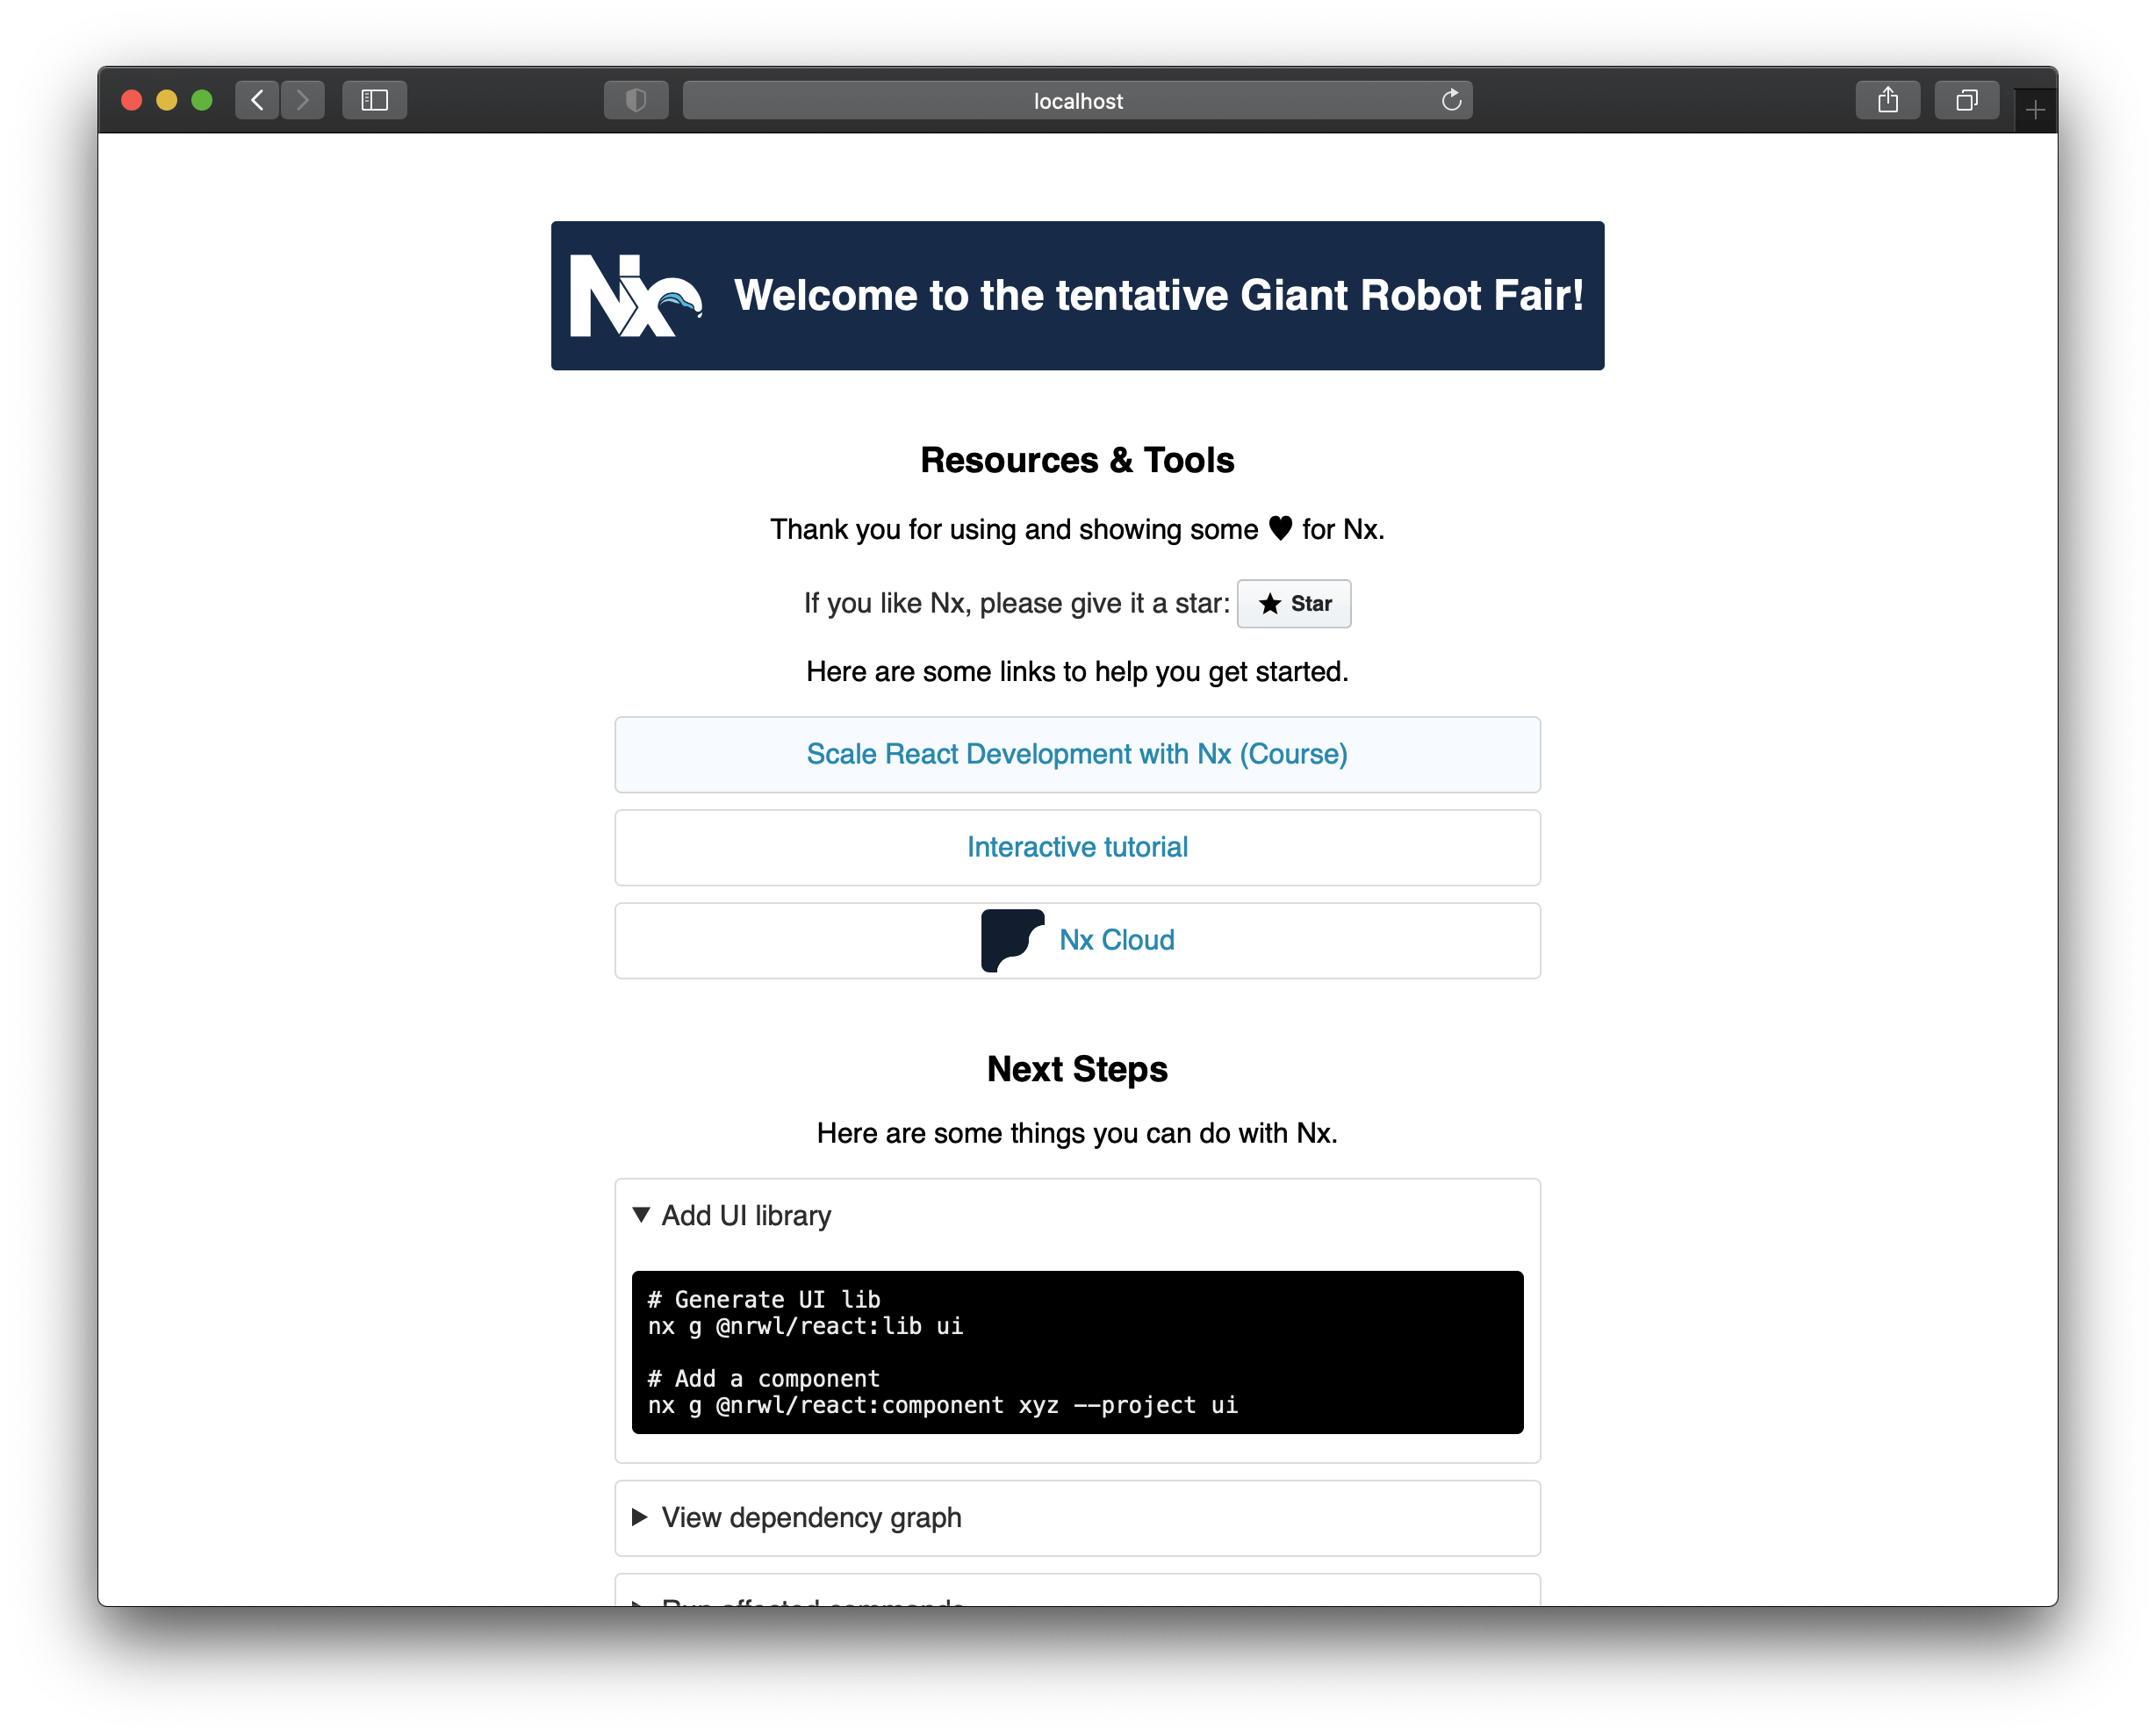
fairAdjective: 'tentative'
};
- Open
apps/frontend/src/environments/environment.prod.ts - Add a new property to the
environmentobject, but with a different value:
export const environment = {
  production: true,
  fairAdjective: 'annual'
};
- Open
apps/frontend/src/app/app.tsx, and use the new environment property:
[...]
// Environments
import { environment } from '../environments/environment';
[...]

export function App() {
  const { fairAdjective } = environment;

  return (
    [...]
        <h1>Welcome to the {fairAdjective} Giant Robot Fair!</h1>
      </header>
[...]
Your Giant Robot Fair is now tentative while developing locally!
- Now rebuild it for production:
nx run frontend:build:production - And go give it a look:
npx http-server dist/apps/frontendthen point your browser to localhost:8080
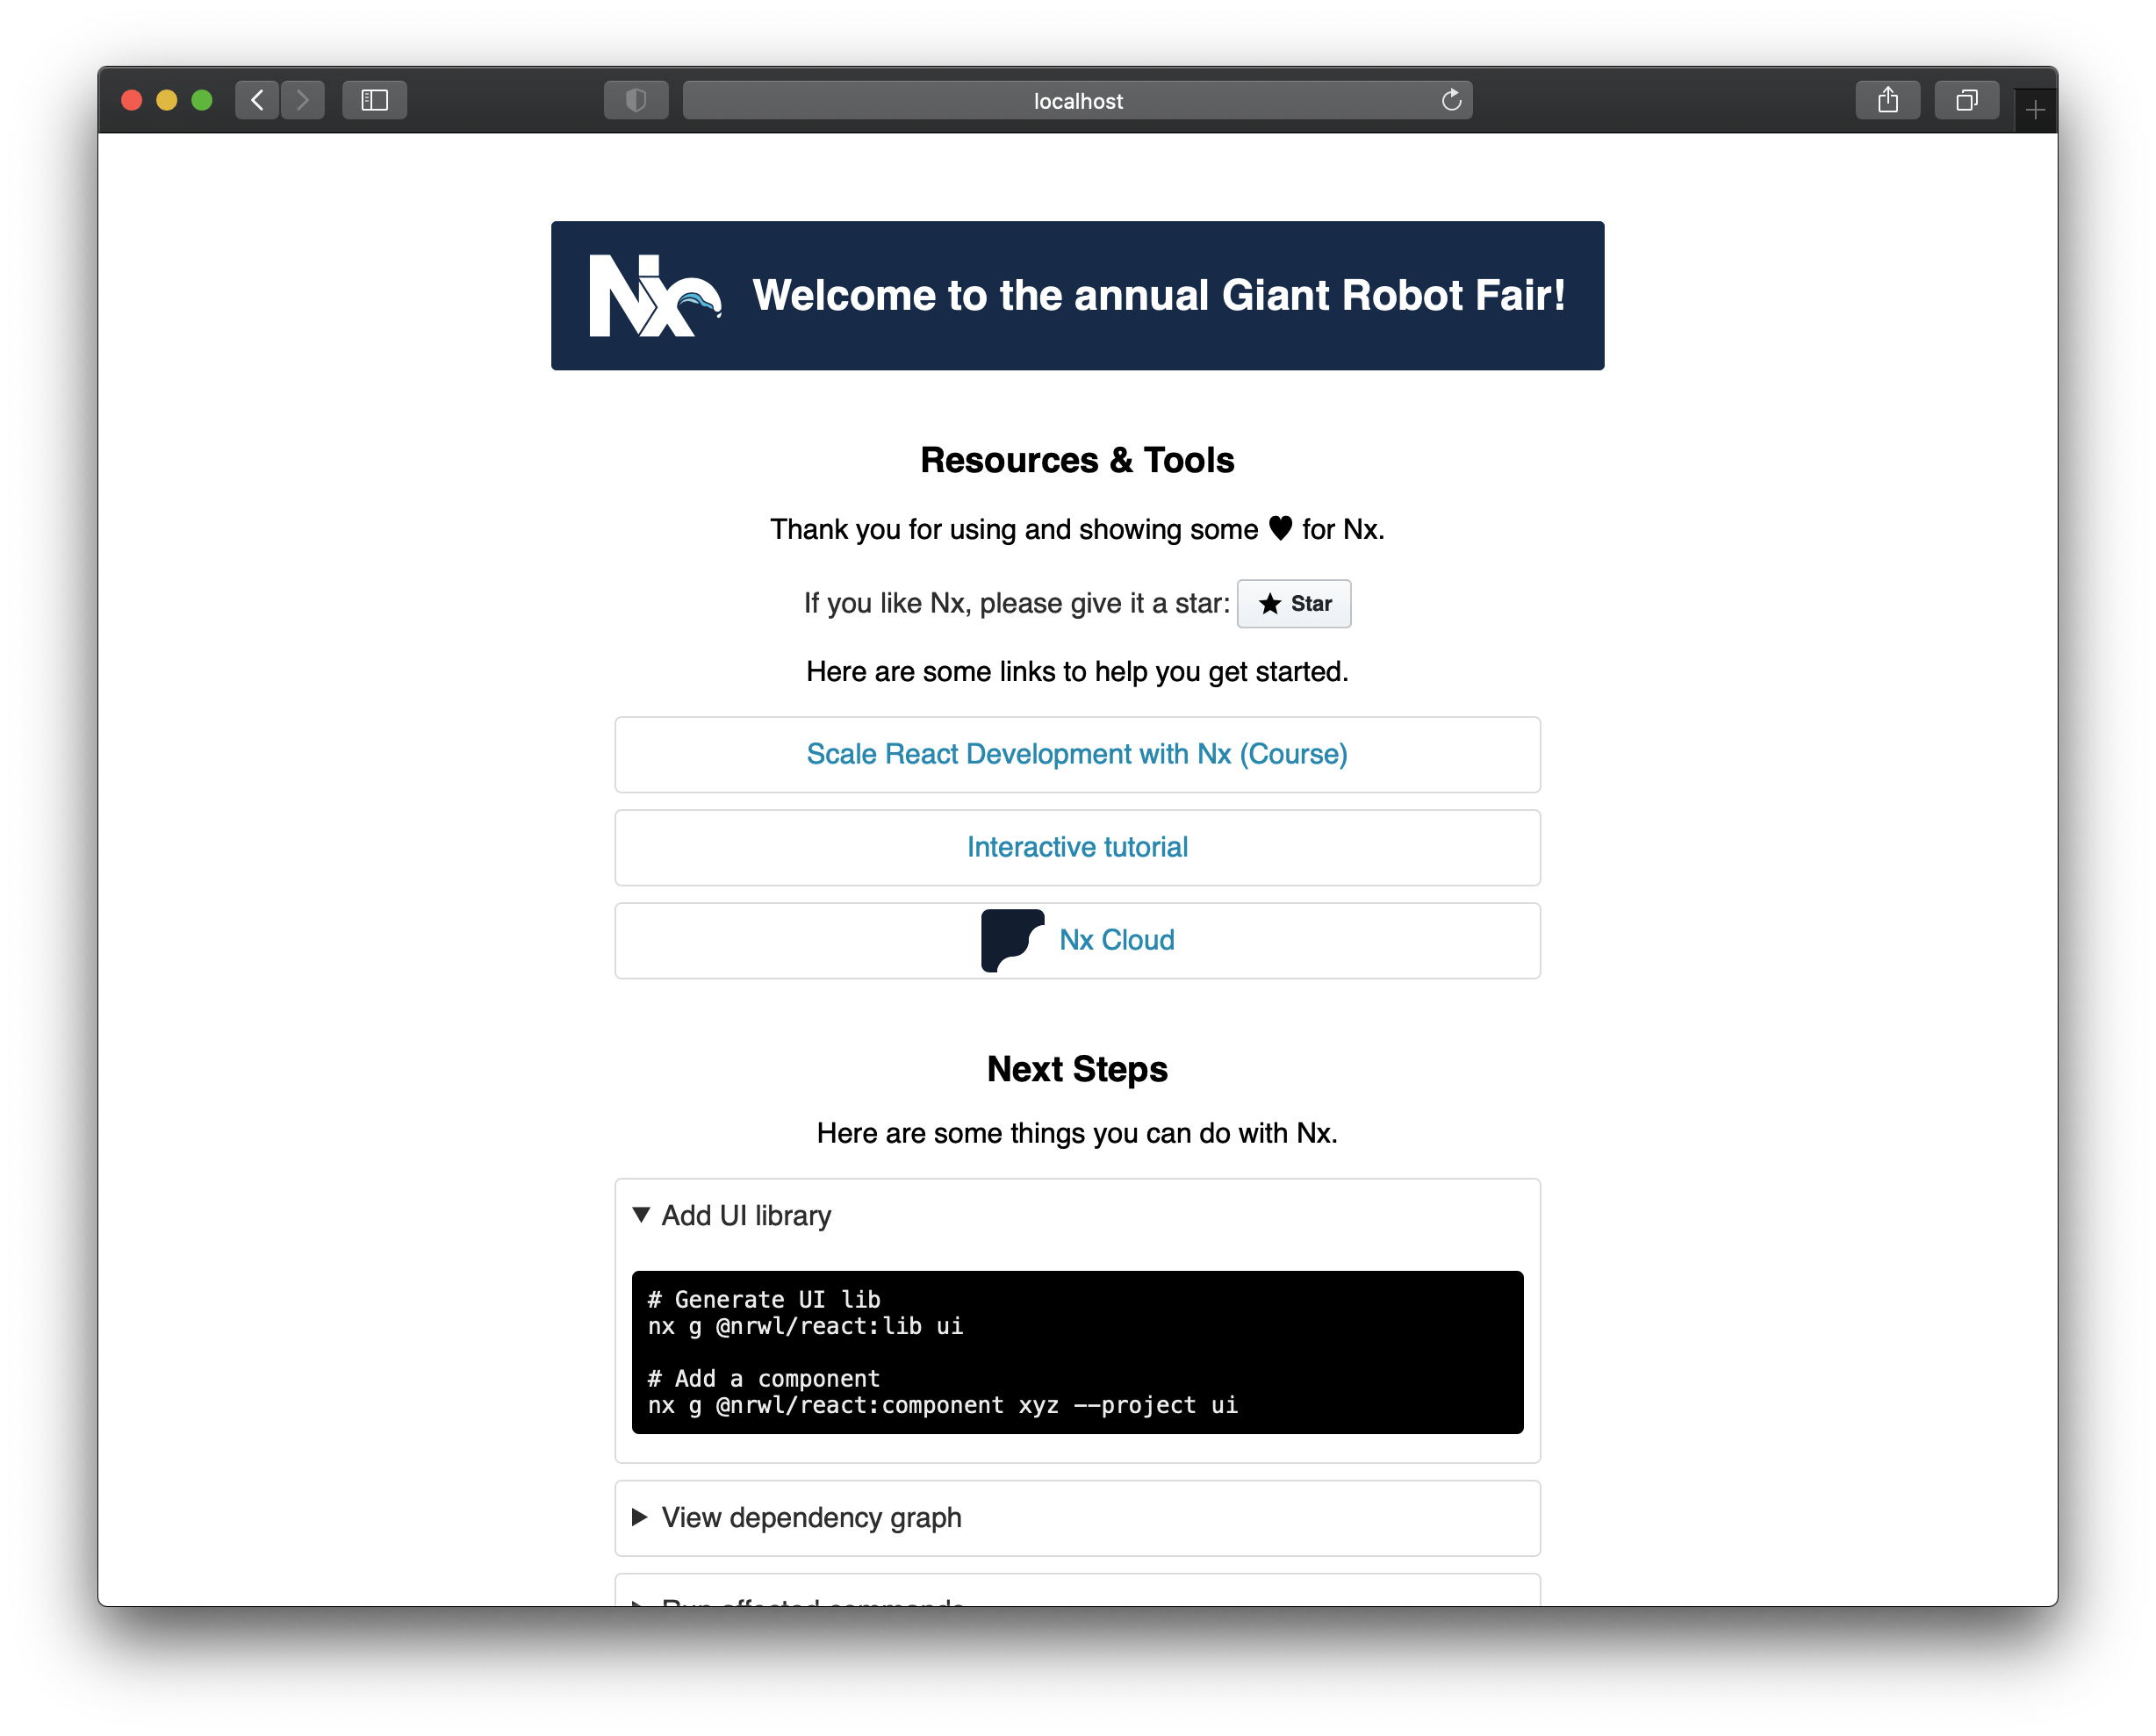
Yep, the fair is annual in production! 🙌
In a real-word scenario, you'd have things like different endpoints to get your data from for development and production.
But you can also add configurations, and file replacements, so that you can also have a third set of endpoints for the quality assurance or staging environments.
How amazing is that? ✨
Bonus: fix the test
We just broke the test again!
To fix it, open apps/frontend/src/app/app.spec.tsx and change the expectation into:
    expect(
      getByText('Welcome to the tentative Giant Robot Fair!')
    ).toBeTruthy();
Wrapping up
This time you learned how to lint, test, and build a project with Nx, and you also made your acquaintance with some powerful concepts like configurations, file replacements, and environments.
Next time you'll learn how easy Nx makes it to have both your frontend and your backend in the same monorepo.
If you have questions, or feedback of any kind, leave a comment or hit me up on Twitter! My social links are up there on the header.
Cover photo by Manu Franco on Unsplash