Create and serve your first Nx app
A React app, precisely

💡 Heads up! You can find the code for every article in this series on GitHub, with a tag per article: https://github.com/trumbitta/giant-robots/tags
What you'll need
- Your favorite code editor: Visual Studio Code, WebStorm, ...
- Node >= 12 (it might work with earlier versions)
- A terminal
Let's roll
Open a terminal and run:
npx create-nx-workspace
This will ask you some questions. Here's how you're going to answer them:
❯ npx create-nx-workspace
npx: installed 48 in 7.875s
✔ Workspace name (e.g., org name)     · giant-robots
✔ What to create in the new workspace · react
✔ Application name                    · frontend
✔ Default stylesheet format           · styled-components
✔ Use Nx Cloud? (It's free and doesn't require registration.) · No
Let's not use Nx Cloud right now: that's for a future post. Though it really is awesome and I'm dying here, I just want you to know what it does. 🤩
Anyway, Nx will now go ahead and it will install npm packages, create the actual workspace, and initialize it.
>  NX  Nx is creating your workspace.

  To make sure the command works reliably in all environments, and that the preset is applied correctly,
  Nx will run "npm install" several times. Please wait.

✔ Installing dependencies with npm
⠦ Creating your workspace
Oh but then the fun begins
Let's jump right in!

Photo by Nathan Dumlao on Unsplash
- Import the
giant-robotsfolder in your editor of choice - Open a terminal and launch your first React app with Nx:
cd giant-robots npm start - Point your browser at http://localhost:4200
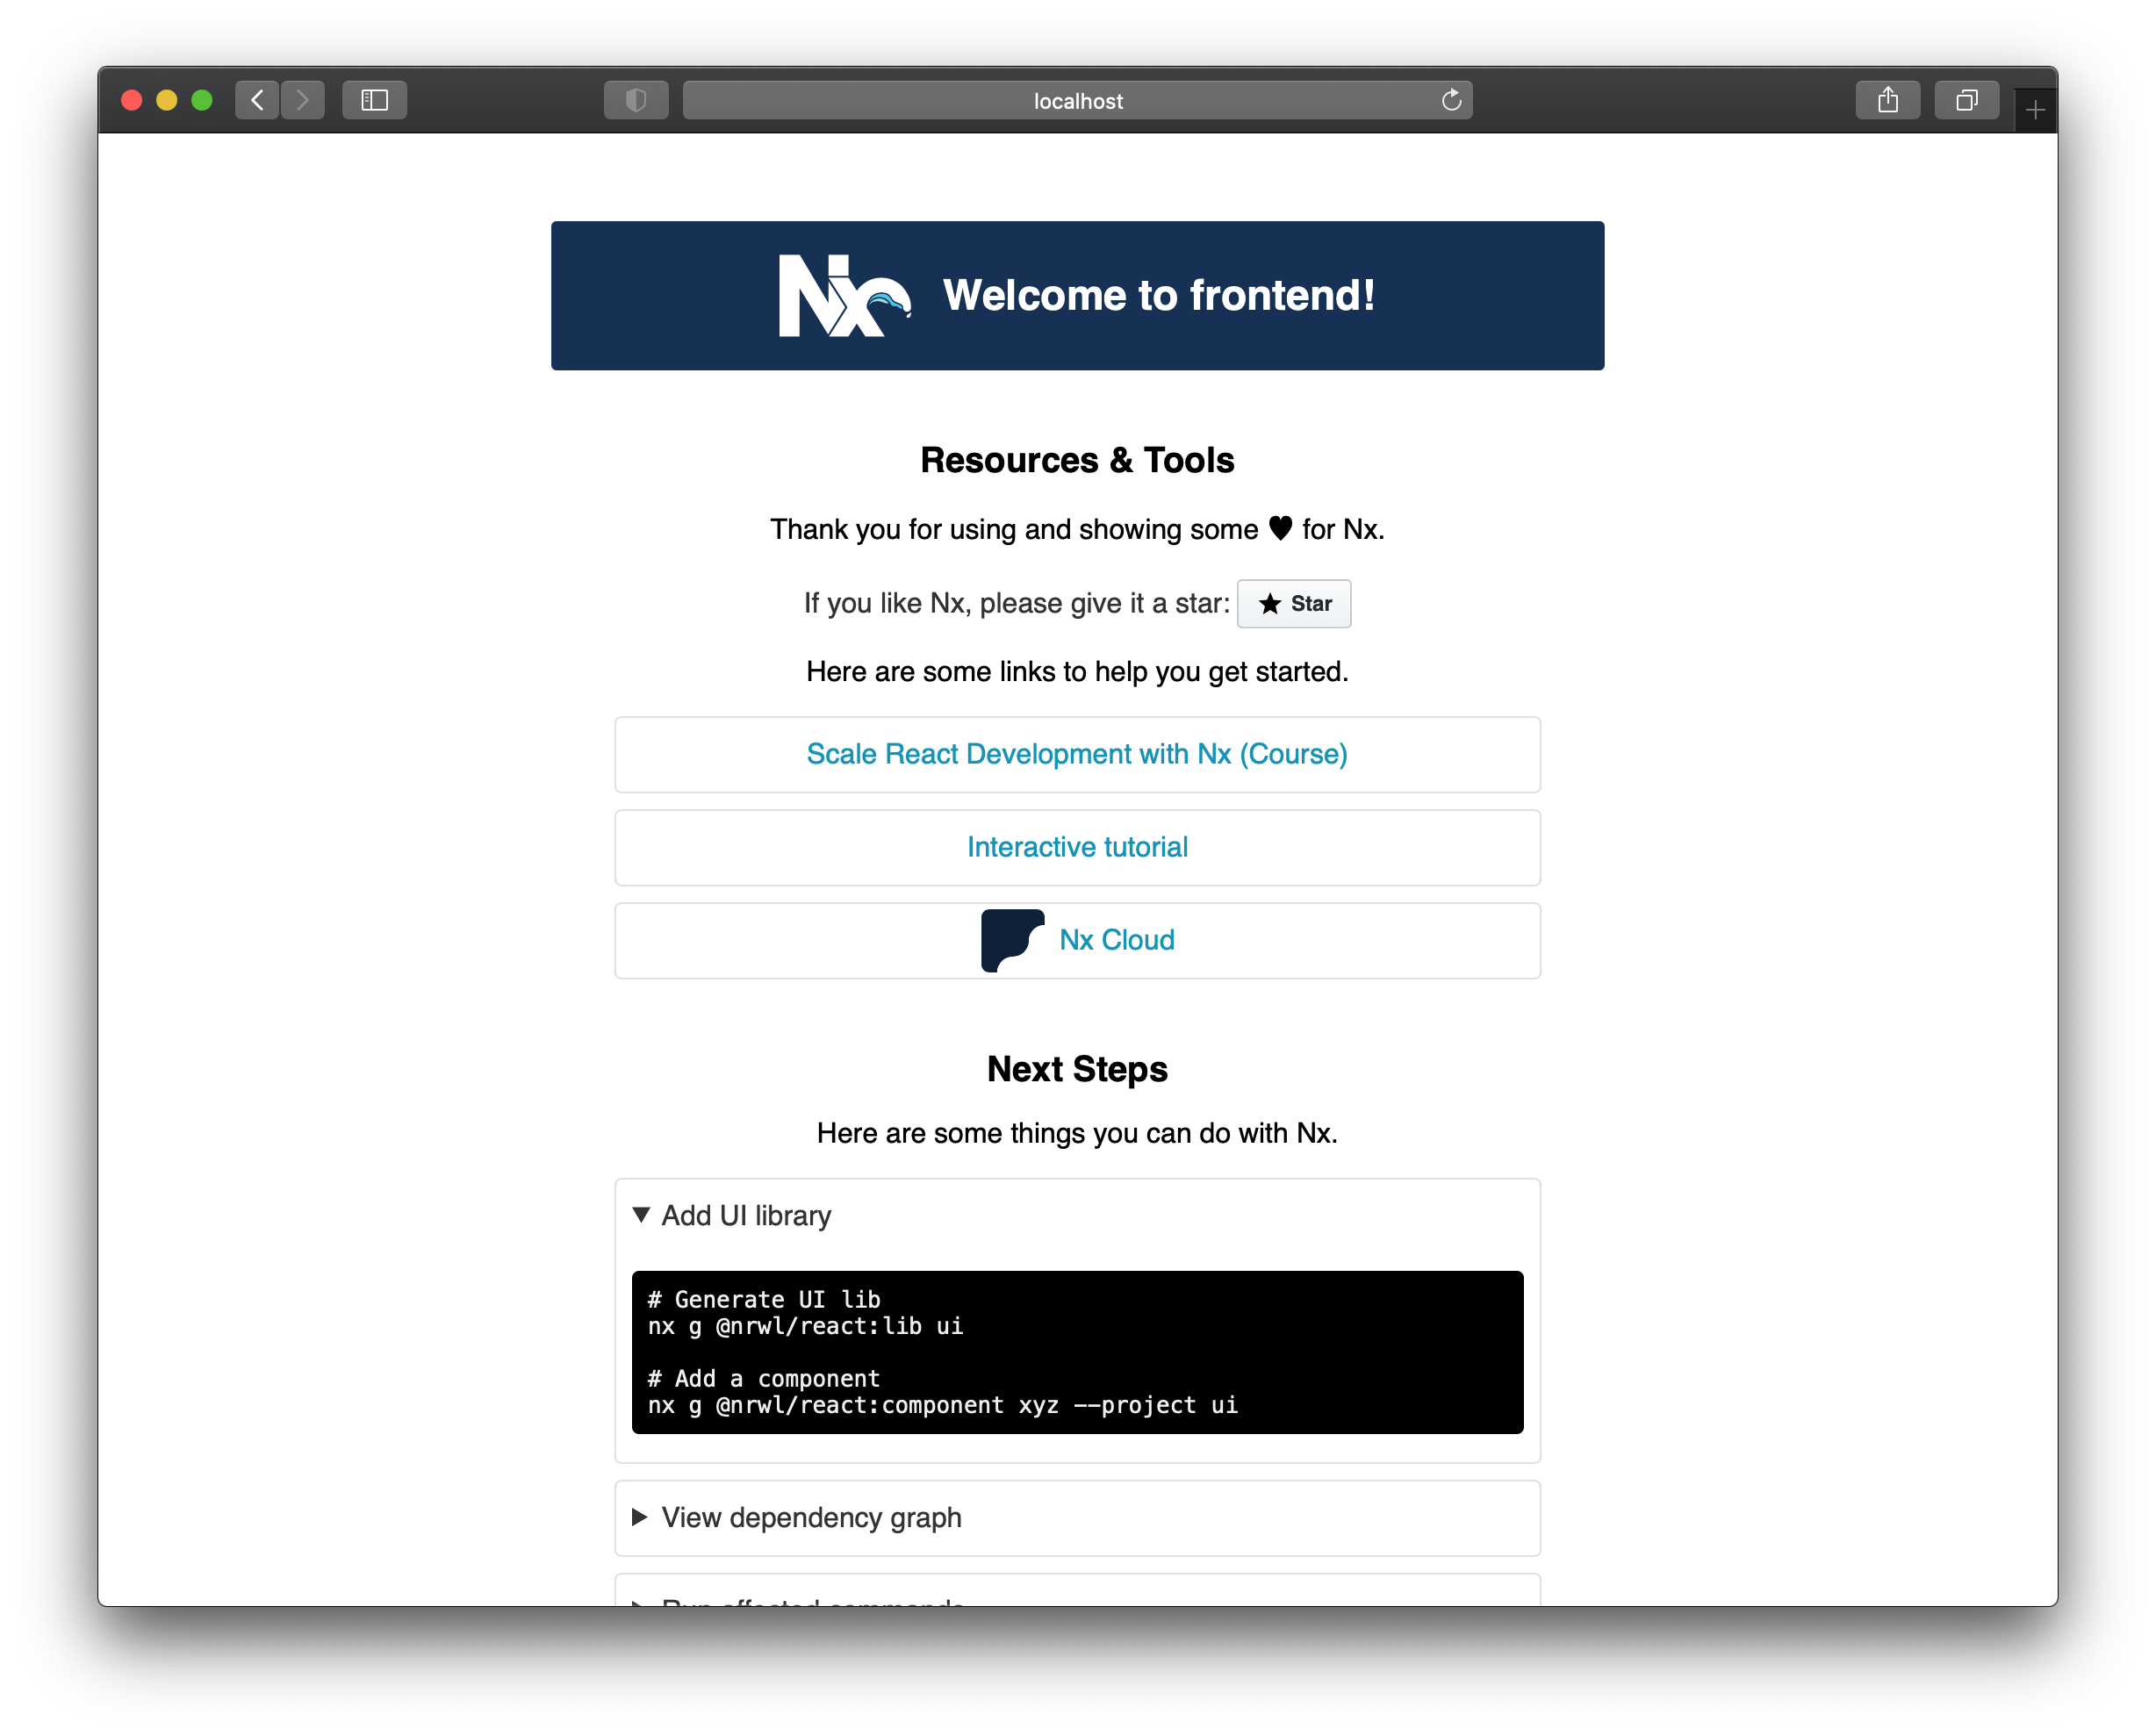
What just happened?
- You ran the same old
npm start - If you look into
package.jsonyou'll see that's defined asnx serve - I didn't make you specify any project so Nx inferred that you wanted to work with the default project aka the only existing project at this moment:
frontend.
You'll find this configured at the bottom ofworkspace.json:[...] "defaultProject": "frontend" } nx serve frontendis just syntax sugar for the real Nx command:# nx run <project>:<target> nx run frontend:serve
Go ahead and try to serve the app using nx serve frontend and then nx run frontend:serve! You can hit ctrl c to stop the app each time around.
If you need to install the Nx CLI first (you don't need it if the commands above work for you):
npm i -g @nrwl/cli

# or don't install and use it with npx
npx nx <commands>
Then, with the app still running and the browser displaying it:
- Open
apps/frontend/src/app/app.tsxin your editor - Change the
<h1>into<h1>Welcome to the annual Giant Robot Fair!</h1>and save - Go see your browser automatically refreshing and displaying the updated page!
And if you keep the console open in the browser's devtools, you'll notice these messages:
[WDS] App hot update...
[HMR] Checking for updates on the server...
[HMR] Updated modules:
[HMR]  - ./app/app.tsx
[HMR] App is up to date.
Hot Module Replacement! Nx is awesome and it made Webpack only reload the minimum group of files it needed to reload for taking your change into account.
Wrapping up
That's a lot to process for your first time with Nx, so I'm calling it a day.
You just:
- Created your first Nx workspace
- Created your first React app within it
- Learned about the three levels of a Nx command:
npm startnx serve frontendnx run frontend:serve
- Ran your React app, made a change, and discovered Nx has HMR enabled to make your development workflow speedier and flawless
🍻 Next time we are going to learn about testing, linting, and building.
Cover photo by Humberto Arellano on Unsplash


