Baking a backend service with Nx
I wish I had a good Toretto / Family joke to put in here
💡 Heads up! You can find the code for every article in this series on GitHub, with a tag per article: github.com/trumbitta/giant-robots/tags
In the previous posts of this series you learned how to create a new Nx workspace with a React app, how to serve the app for local development, and how to lint it, test it, and build it for production.
But Nx workspaces are monorepos, meaning it's not only possible but even encouraged to have both your frontend and your backend (and more) in the same workspace.
Installing the NestJS plugin
Nx has a good number of official plugins and community plugins. We are now going to install the plugin for NestJS.
Open a terminal, go to the root of the workspace, and run:
npm i -D @nrwl/nest
If you are using Visual Studio Code, now it's a good time to install Nx Console, the official Nx extension for VSCode. At this point you should already have it, though, because it's one of the recommended extensions the editor will ask you to install when you import the Nx workspace for the first time.
We are going to proceed via terminal, just in case.
Create a new NestJS application:
nx generate @nrwl/nest:application --name=backend --frontendProject=frontend

# or just:
# nx generate @nrwl/nest:application
# and Nx will ask you some questions about the rest
And after some work and an automatic npm install, this should be the output:
CREATE apps/backend/src/app/.gitkeep
CREATE apps/backend/src/assets/.gitkeep
CREATE apps/backend/src/environments/environment.prod.ts
CREATE apps/backend/src/environments/environment.ts
CREATE apps/backend/src/main.ts
CREATE apps/backend/tsconfig.app.json
CREATE apps/backend/tsconfig.json
CREATE apps/backend/.eslintrc.json
CREATE apps/backend/jest.config.js
CREATE apps/backend/tsconfig.spec.json
CREATE apps/frontend/proxy.conf.json
CREATE apps/backend/src/app/app.controller.spec.ts
CREATE apps/backend/src/app/app.controller.ts
CREATE apps/backend/src/app/app.module.ts
CREATE apps/backend/src/app/app.service.spec.ts
CREATE apps/backend/src/app/app.service.ts
UPDATE workspace.json
UPDATE nx.json
UPDATE package.json
UPDATE .vscode/extensions.json
UPDATE jest.config.js
UPDATE tsconfig.base.json
Congratulations! You now have a NestJS application in apps/backend!
Do you know how to start it? Of course you know:
nx run backend:serve
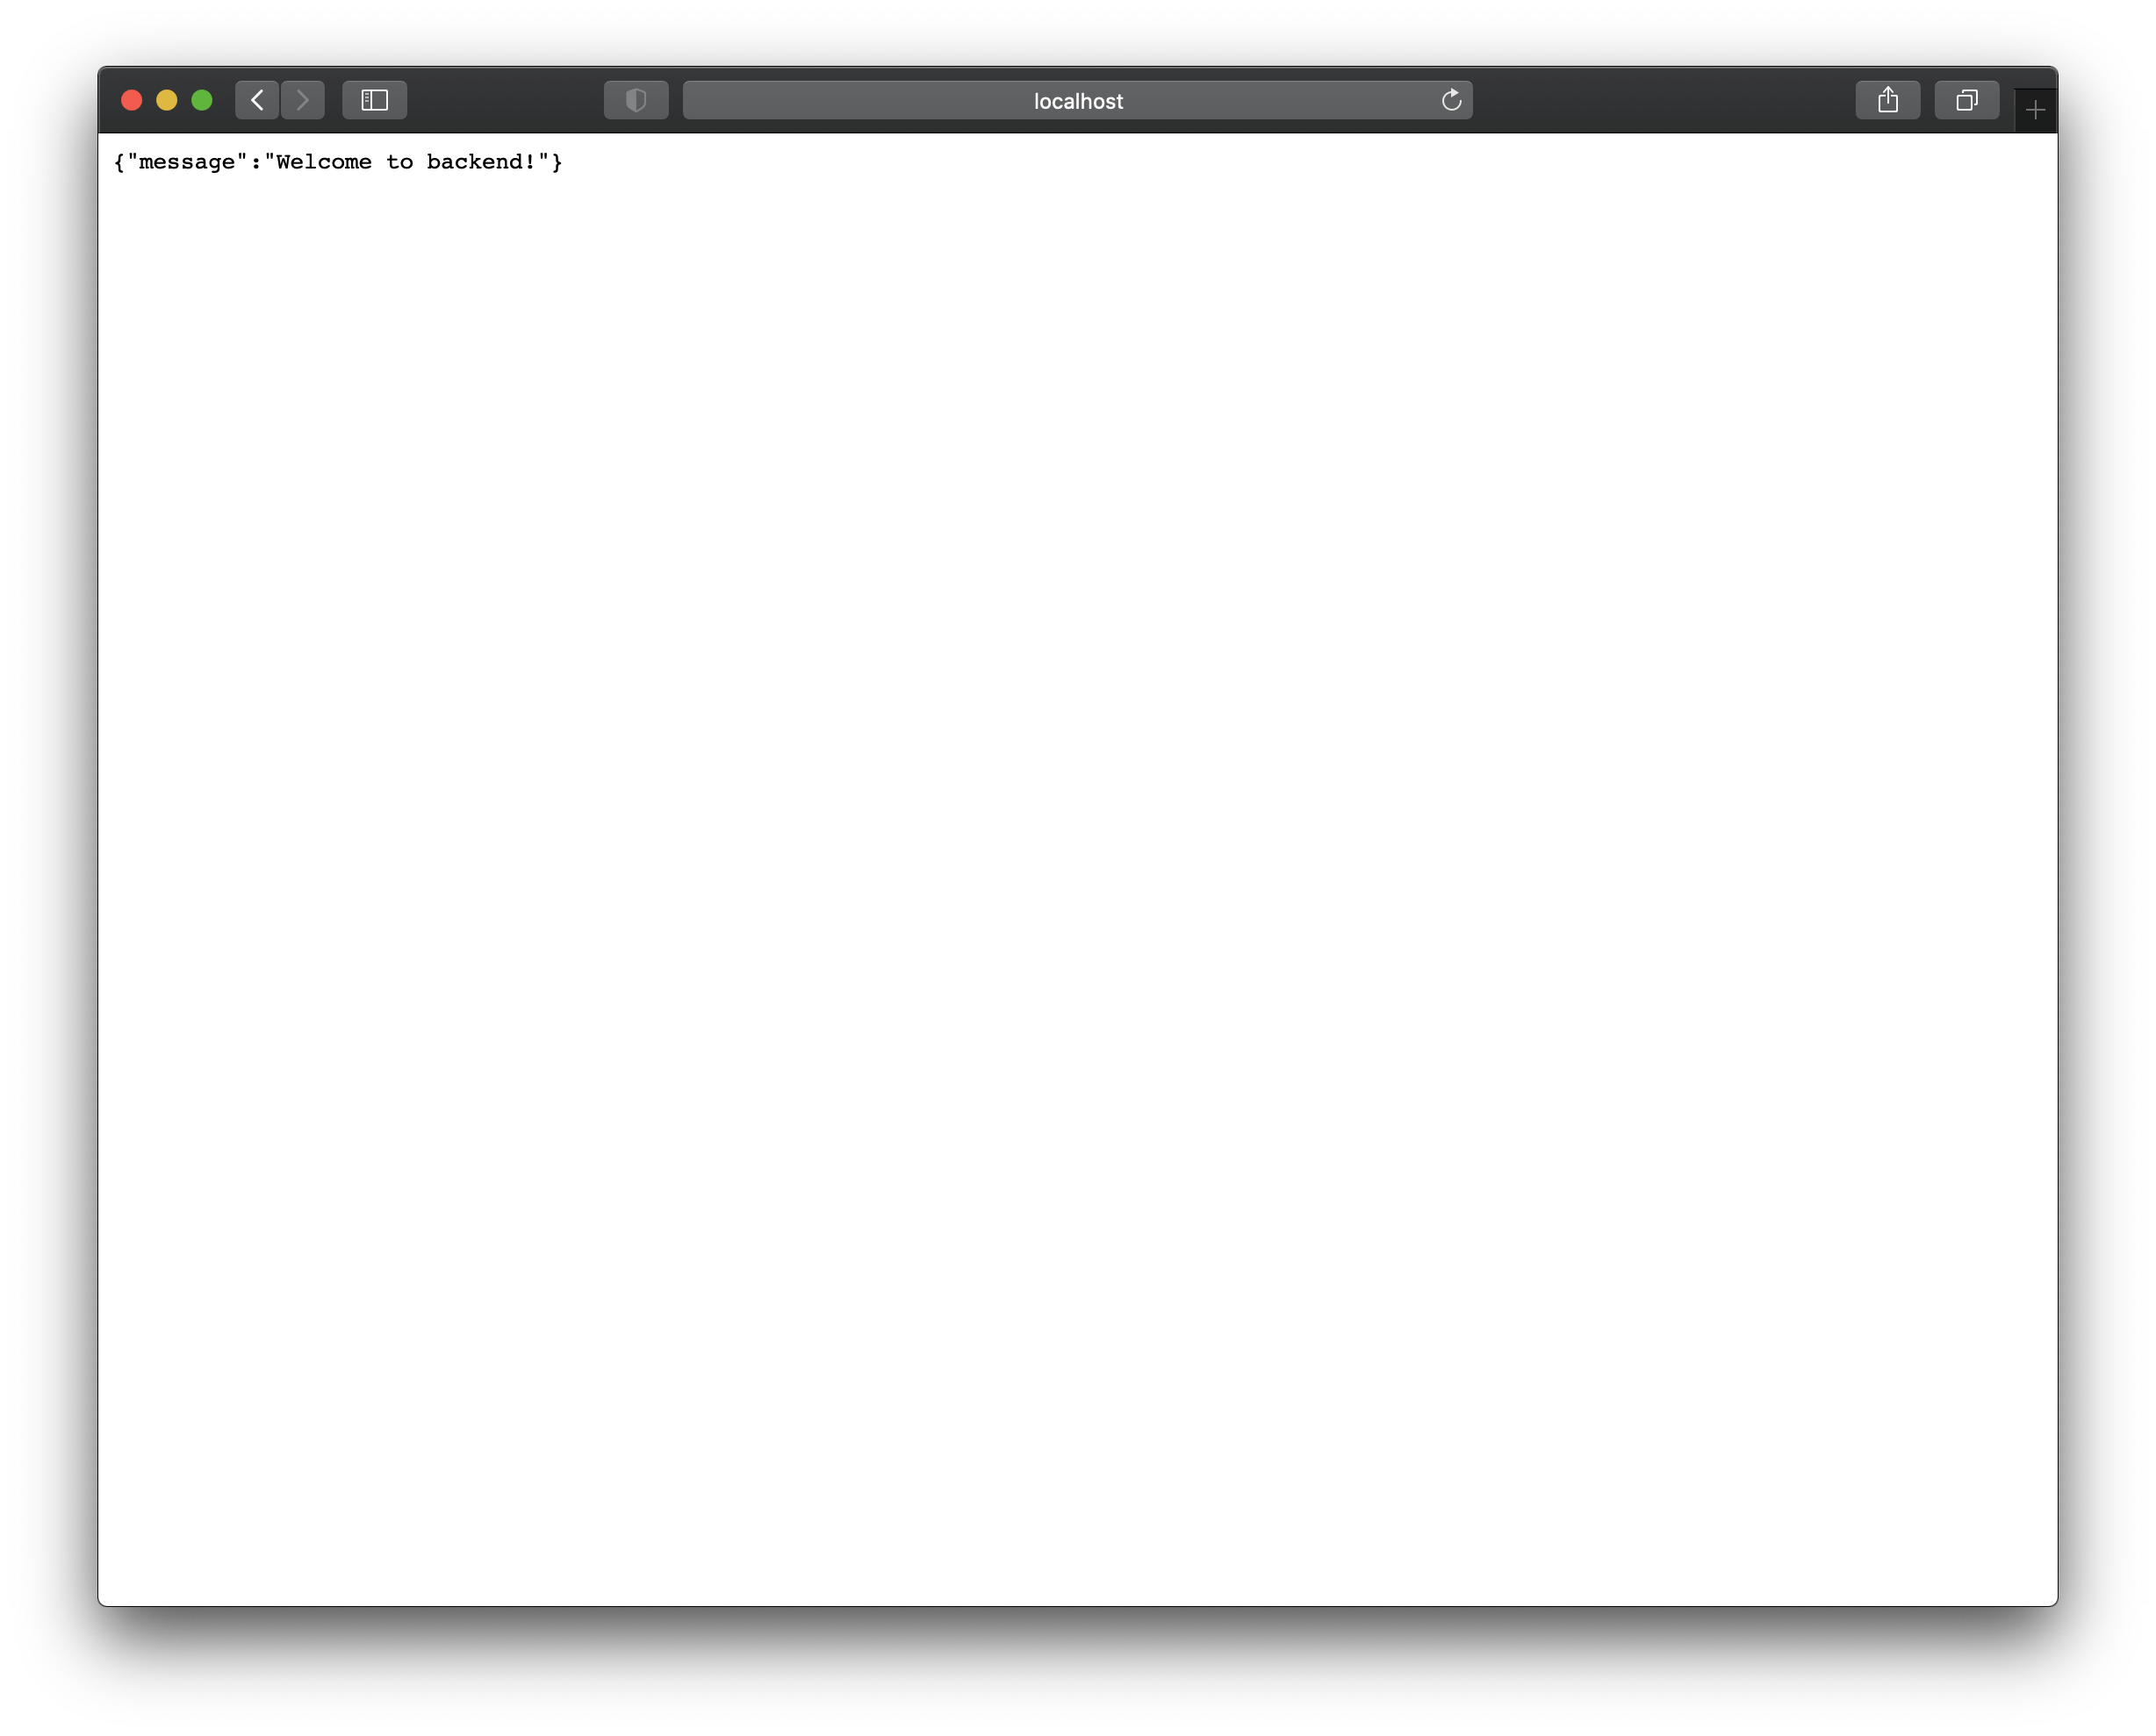
Then point your browser to localhost:3333/api and this is what you should see.

Apart from serve, all of the other Nx commands and targets you already know work as well: lint, test, build.
But you also have the src/environments files, and they work as expected!
Wrapping up
That's it for now.
You learned how quick and easy it is to add a backend application to your Nx workspace, and you can manage it with the same commands you already knew and started using for the frontend app.
In the next post, we are going to make this backend app actually return something useful for the frontend app: a list of giant robots!
But for that to work well, and to be robust and maintainable, we are going to need some way to...
🤔 I don't know...
🧐 like...
💡 share data models between backend and frontend!
Cover photo by Chris Ensminger on Unsplash
